Easiest Upside-down Apple Galette
I have said it before, I love fall. You may recall my column from a few weeks back where I was in Apple Hill and I wrote about apple cider donuts. Well now I’m writing you about an apple galette. You may be familiar with apple pie (top and bottom crust) or apple tart (bottom crust), however; an apple galette is a free form crusted pastry. This is a variation of a galette in that the crust is on the bottom but it’s unique in that it’s made in a skillet, baked upside down, and then flipped over when it’s done.I got this delightfully simple recipe from Cedar Street Times’s very own cartoonist, Joan Skillman. I think it is my new go-to favorite for an easy to make, autumnal, delicious treat.Upside-down Apple GaletteFor crust:
- 6 tbsp chilled unsalted butter, cut in 1/2 inch chunks
- 1 cup all-purpose flour
- 3-4 tbsp. cold whole milk
For filling:
- 2 tbsp unsalted butter
- 1/4 cup sugar
- 3 apples, cored, peeled, and sliced
Heat oven to 400˚F.Put the flour in a medium-sized bowl and add the butter on top. Using a pastry cutter, cut the butter into the flour until it resembles a coarse meal. Add three of the tablespoons of milk and quickly knead in until the dough sticks together as a ball. You may need the fourth tablespoon or not, you don’t want a soft dough, you just want it to hold itself together. You also don’t want to play with it too much because the heat of your hands will melt the butter and you don’t want that. Press the dough into a disk on wax paper and place in the refrigerator until ready for use.In a cast iron skillet or a Dutch oven, make the filling. Over medium heat, melt the butter and make sure you get it on the edges of the skillet. Gently sprinkle the sugar over in a uniform layer. Let it sit for a few minutes. You don’t want the sugar to burn but you want to heat it up just so. The caramelization adds a delicious taste. Meanwhile, core, peel, and slice your apples. I have a handy dandy apple corer, peeler, and slicer—the coolest kitchen contraption and best gift I have ever received, I might add. With just the crank of a lever the device cores, peels, and slices (uniformly!) my apples. Amazing.Place the apples in the skillet starting from the outside and working in, with each apple slice slightly over the one prior. I like a lot of apples in my galettes so once I have the bottom all filled up, I fill in the spaces with the remaining apple slices. Now don’t touch them. Let them sit over the heat for a good 5-10 minutes or until they are just about translucent.Meanwhile, on a gently floured surface, roll out the crust to approximately the diameter of the skillet. It doesn’t have to be perfect. Don’t touch it too much because you don’t want to melt the butter with the heat of your hands. When the apples are ready, you’ll know they’re just translucent, turn the stovetop off and quickly throw the crust on. At this point I pull the overhanging edges in a bit with my fingers. Finally, put the skillet in the oven and bake for 25 minutes or until the crust is just golden.Take out of the oven and being very careful, flip onto a platter or a cutting board. It should come out quickly and easily but some of the apples might stick to the skillet if you stirred them or didn’t coat the sides of the skillet with butter, like the first time I made it. The second time I tried, it came out perfectly. Lesson: don’t stir the apples in the skillet. This is delicious with vanilla bean ice cream on top and will be devoured in minutes if you serve it all when it is still warm. Thank you, Joan!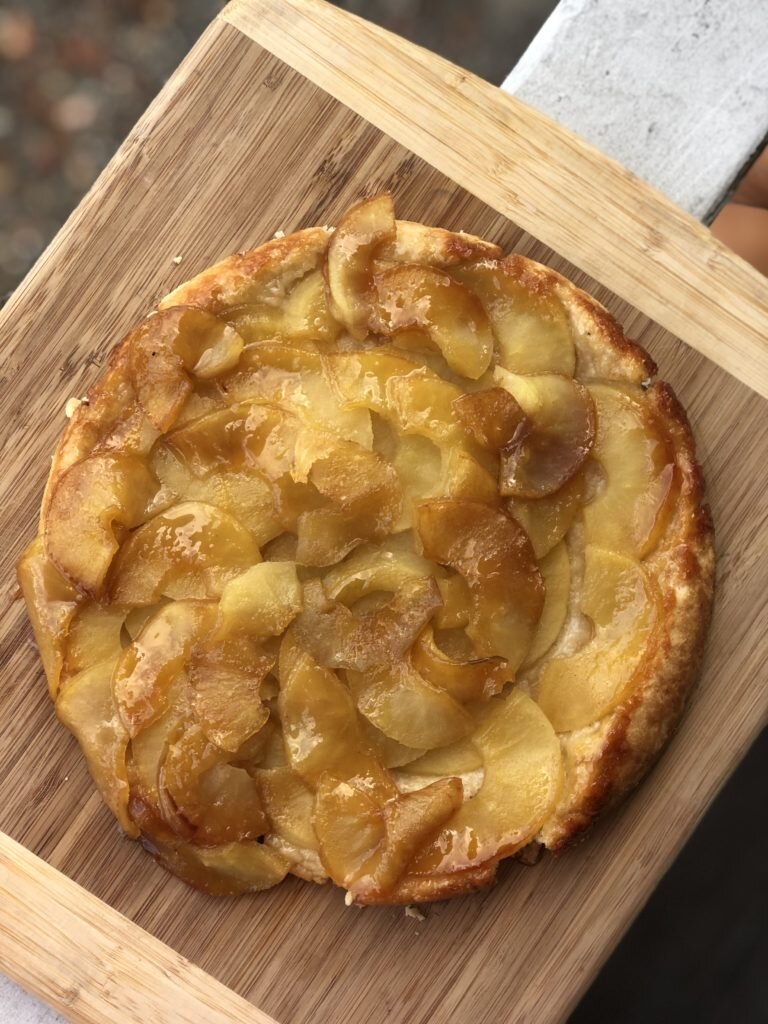 **this story was originally published in my column Postcards from the Kitchen in the Cedar Street Times on 26 October 2018